The signing and with materials check in hand. I ordered the ring roller.
Friday, November 17th
Ordered the Copper
Week 1
Tuesday, November 20th
hey enough already
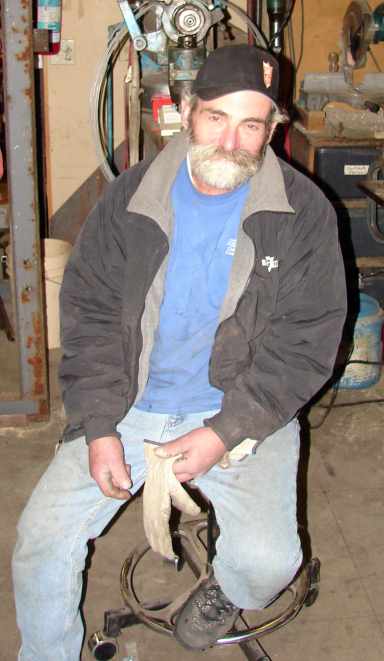
Carey Weisner takes a break from getting us organized (Hey, enough with
the camera already)
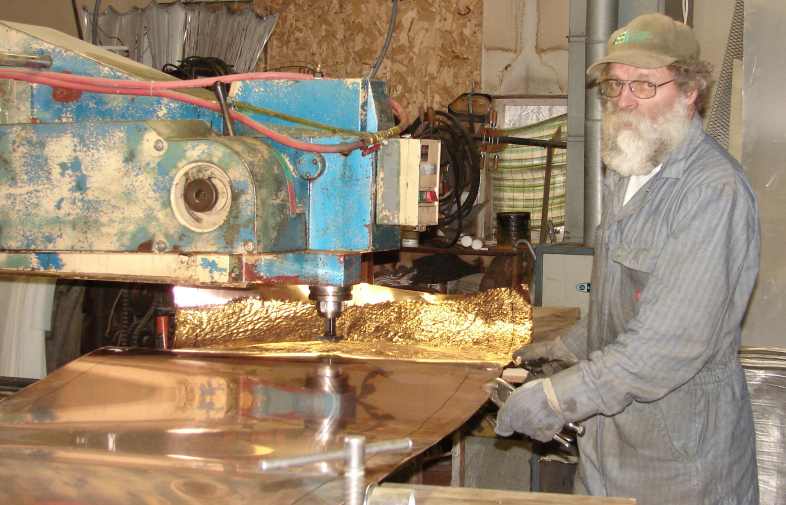
Rich Maslowski texturing copper on the pullmax.
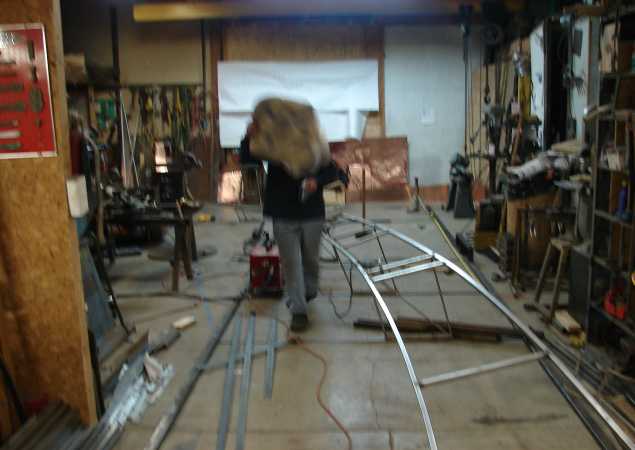
Carey, Rich, and I cleared out the shop and got the materials
ordered..Rich
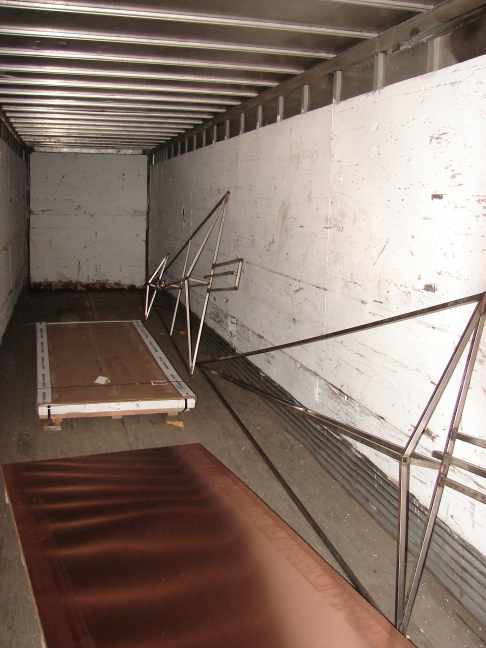
got the forklift running , the storage trailer has
arrived. Carey started a reference grid on the floor.
Saturday, November 24th
I finished the floor grid and seal coated the floor with acrylic wax so
we wouldn't wear it off too fast.
Sunday, November 25th
I assembled storage racks, and resealed the floor.
Week 2
Monday, November 27th
Purchaced consumables, argon, stainless wire, tips
Ordered Stainless tube to be picked up Tuesday; we will need more, this
is as much as I could land at the best price.
Tuesday, November 28th
Rich, Carey and I met at the QBP site to take measurements.
(in the
rain)
After a morning's cold shower, we retired to the shop.
Carey assembled the ring roller while Rich and I went and got
the steel tubing.
Carey secured the rack to the wall and we moved the steel inside.
Wednesday, November 29th
Rich and Carey split wood for the furnace.
The copper arrived on two skids. 2300# each.
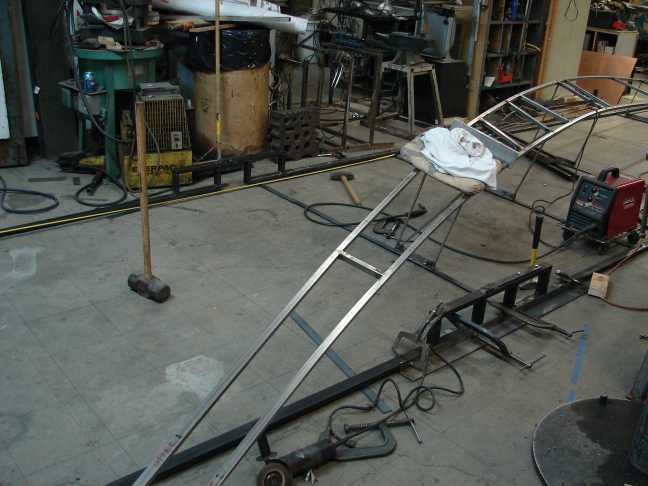
Carey and Rich built the stainless frames for the pine trees.
I ordered
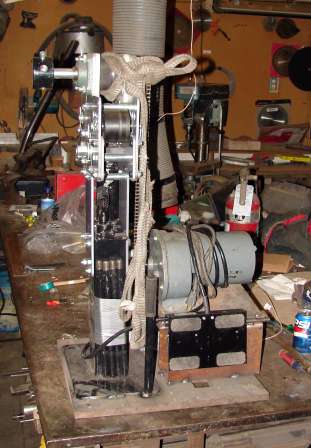
relays for the motor we had found for the ring roller and
worked on drawings.
We laid out the outlines for the deciduous trees as well .
Thursday, November 30th
We finished the last pine tree frame and started laying out the big S
curve section for the North wall.
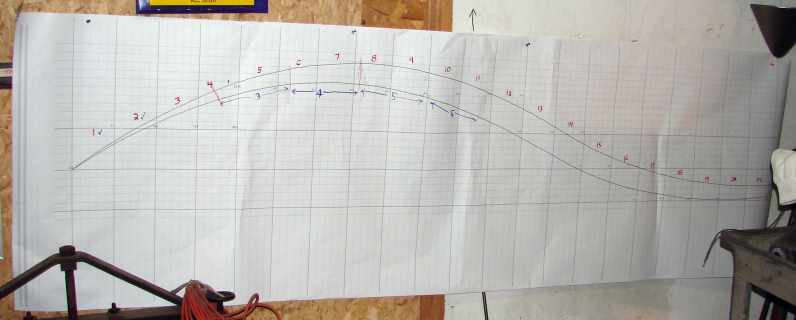
Inch to the foot
map to one component
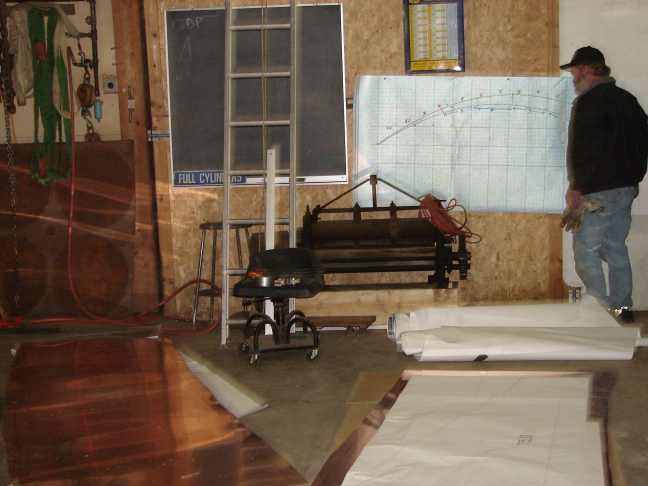
I printed out an inch to the foot map and then started full scale
patterns which we have laid out and taped together. We are using it
like a scoll, unrolling to the section we need and placing it on the
floor grid. The S curve is about 136ft end to end. and just over 4 ft
wide at the center.
We knew we needed more steel. and today we ordered more, to be
delivered on
Monday. We started cutting copper and texturing roadbed
panels.
Friday, December 1st
Carey lays out
the full scale patterns, cuts the copper and then marks the
location on the scale drawing.
More full scale printouts created and taped together; more panels cut,
and textured.
Ordered 11,000 copper rivets. Started taking pictures.
I
finally got the motor to reverse properly after finding out Graingers
had sent us a bad part, the coil was DOA in the relay.
Saturday, December 2nd
Started this web log.
Week 3
Monday, December 4th
The rest of the steel arrived and I moved it in onto the rack.
The North wall
swoop begins to take shape.
Tuesday, December 5th
We repositioned the roller to work laterally and began bending the
North wall S curve.
Rich continues to texture the "roadway" copper.
Working on the plans for the mountings.
Wednesday, December 6th
Week 4
Monday, Dec 11
Meeting with Nordquist about install.
Thrursday, Dec 14th
Started the full scale jig for mounting the sculpture.
Friday, Dec 15th
Drawings to catch up
Week 5
Monday, Dec 17th
Spent working on drawings locating all the mount points on the north
wall
Tuesday, Dec 18th
More texturing and jig building, cut and drilled all the mounting
plates for the road on the north wall.
Wednesday, Dec 19th
mounted in shop pieces onto the jig
Thursday, Dec 21
Cary asked for an
update of the website, and then hides.
Brought in the first pieces and mounted those on the jig.
Friday, Dec 22
the road drilling
jig has bridges in it sot it fits over the downspouts
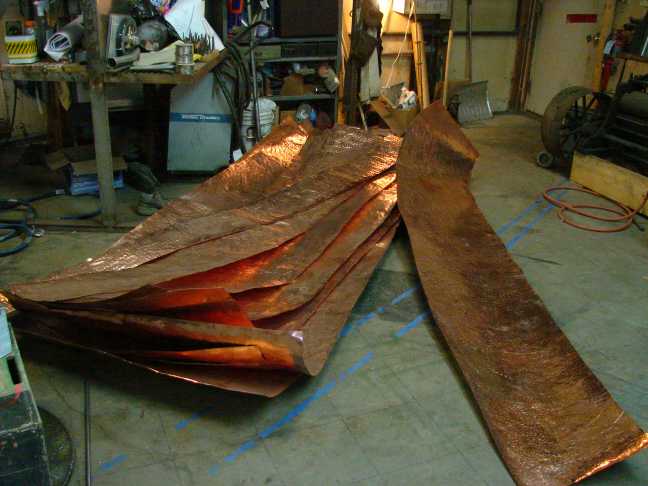
Got the Copper for the first section of road ready
Copper ready to anneal so we can wrap it around the road frames